
Grouping Twinkly Lights
How to group together different sets of Twinkly lights
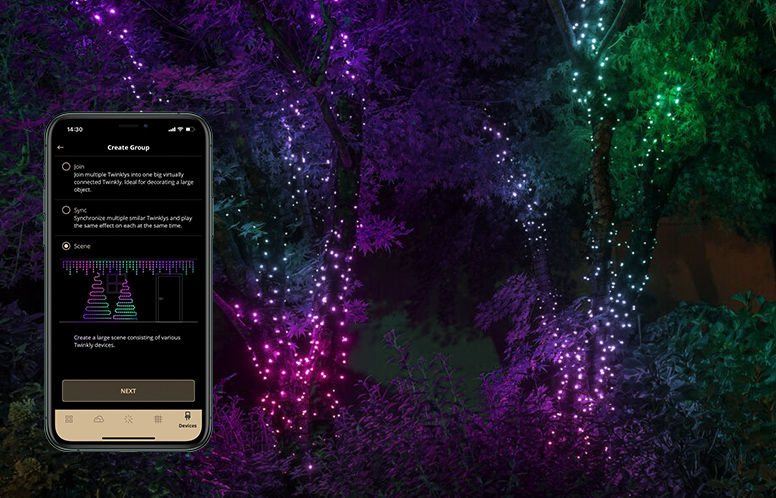
When you have multiple sets of Twinkly lights, grouping them together allows you to fully synchronise your lighting display. You can group Twinkly lights in three different ways: join them so that they become one single virtual device, sync them so that each set of Twinkly displays the same effect, or group them by area, which is where displays feature numerous Twinkly devices in a larger scene.
How to create Twinkly join groups
Join groups allow you to sequentially apply effects to your group of lights - effectively extending the lights to form a virtual single string of lights.
A perfect example of this might be if you had more than one set of Twinkly lights in a large tree.
- Navigate to the 'devices' menu in the Twinkly app
- Add all Twinkly devices to the same WiFi network and ensure all are turned on
- Click on the link icon
- Select the 'join' option
- Choose the devices you wish to add to the group
- Give the group a name - it should then appear in the device list
- Select the new group
- Go to the 'layout' menu and map the full group of lights
How to create Twinkly sync groups
Sync groups allow you to apply the same effects to two or more strings simultaneously - the applied effects will be synchronised.
A perfect example of this might be if you had Twinkly in two adjacent trees and wanted them to match.
- Navigate to the 'devices' menu in the Twinkly app
- Ensure all Twinkly devices are turned on and have already been individually mapped
- Click on the link icon
- Select the 'sync' option
- Choose the devices you wish to add to the group
- Give the group a name - it should then appear in the device list
- Select the new group and away you go
How to create Twinkly area groups / scenes
Area groups (also known as scenes) are groups of lights arranged on extended scenarios - effectively extending the lights to form a virtual single string of lights.
A perfect example of this might be if you had more than one set of Twinkly lights in a large tree.
- Navigate to the 'devices' menu in the Twinkly app
- Ensure all Twinkly devices are turned on
- Click on the link icon
- Select the 'area' option
- Choose the devices you wish to add to the group
- Select the 'area' group type:
- Area editor: This option allows you to set out your individual devices exactly as they are positioned. The editor allows you to change the zoom, the rotation and finally the size of your layout. After customising, select 'save'.
- Camera mapping: Use the smartphone camera to map the group (2D option only).
- Vertical (for iOS only): Select single devices starting with the highest one (e.g. top of the tree) to the lowest one (base of the tree).
- Horizontal (for iOS only): Select single devices from left to right.
- Give the group a name - it should then appear in the device list
- If you used the 'camera mapping' option, you will be prompted to map the entire scene
Frequently asked questions
Q: How many Twinkly lights can I group together?
A: For 1st Generation Twinkly: Up to 2,000 LEDs or 5 devices. For 2nd Generation Twinkly: Up to 4,000 LEDs or 10 devices.
Q: Can Twinkly Line and Flex be grouped?
A: Yes, Twinkly Home Range products can be grouped using any of the three different types of grouping. If you want to group them with other Twinkly products, you can use the Area / Scene group, in order to create an extended scenario of all your light settings.